Monday, 1 April 2013

Cheeky chick and egg pattern


As it was Easter I thought I would make a cute little chick for my friends baby daughter. It was very cute but I realised watching her play that at 18 months she is really enjoying putting things together and hiding things. So I thought I should put the chick inside something and made the little egg case!

Finger's crossed she will like it, but on finishing it I loved it so much I made one for myself for a nice Easter decoration. While I was making mine I took note of the pattern and a few snaps so if anyone else would like to have a go here it is!


You will need:
DK (8 ply)  yarn in yellow, orang and multi colours for egg.
Safety Eyes or black yarn to stitch eyes for younger children
3mm hook
Stitch marker
yarn needle

Stitches used (US terms):
ch = Chain
sc = Single Crochet
blsc = Back loop Single Crochet (miss the first loop and stitch through the back loops only)
dc = Double Crochet
hdc = Half Double Crochet


Special Techniques:
Amigurumi continuous spiral
Mostly single crochet stitches worked in the round without joining. You make a continuous spiral to build up the shapes. To keep track of the start or end of each round place a stitch marker. You can choose to join each round but I find this creates a seam and doesn't look as smooth. See here for a good tutorial on how to work up amigurumi shapes. There are lots more on youtube too.


CHICK

Body (worked in the round)
round1: Ch2, 6sc in 2nd ch from hook. (Place stitch marker in last stitch of each round here and throughout)
round2: 2sc in each st around (12sc)
round3: *2sc in first st, sc in next st* Repeat between ** around. (18sc)
round4: *2sc in first st, sc in next 2 st* Repeat between ** around. (24sc)
round5: *2sc in first st, sc in next 3 st* Repeat between ** around. (30sc)
rounds 6-8: sc in each st around (30sc)
round 9: sc in next 10 st, blsc in next 5 st, sc in next 10 st, blsc in next 5 st. (30 sc)
rounds 10-12: sc in each st around (30sc)
round 13: *sc2tog, sc in next 3 st* repeat between ** around. (24sc)
round 14: sc in each st around (24sc)
round 15: *sc2tog, sc in next 2 st* repeat between ** around. (18sc)
round 16: sc in each st around (18sc)
Stuff firmly and attach safety eyes if using.
round 17:  *sc2tog, sc in next st* repeat between ** around. (12sc)
round 18: sc in each st around (12sc)
round 19: sc2tog around until closed. Fasten off leaving a tail.
stitch opening closed firmly and hide yarn end inside body.

Wings (worked in rows with turning ch)
round 1: attach yellow yarn to first front loop remaining from round 9 of the body. sc in each loop across. (5sc)
round 2: ch1, turn. sc in each st across (5sc)
round 3: ch1, turn, hdc in next st, dc in next st, hdc in next st, sl st in last st. Fasten off.
Repeat rounds 1-3 on other side. 
stitch yarn ends into the wings and they should curl in a little to create the right shape.

Feet (make 2)
row1: Using orange yarn ch4, sc in second ch from hook, sc in next ch, sl st in last ch.
row2: ch3, sc in second ch from hook and in next ch, sl st in beg ch of row1.
row3: repeat row2. Fasten off leaving a long tail.
You should end up with three crocheted claws, joining together at the base. 

Finishing
Stitch eyes (if not using safety eyes) in black yarn and beak in orange yarn.
stitch on feet at base of body and hide yarn ends inside body.
Stitch in any loose yarn ends.


EGG (worked in the round)

Bottom half
rounds 1-5 (repeat from Body instructions using starting colour yarn)
round 6: *2sc in first st, sc in next 4 st* Repeat between ** around. (36sc)
rounds 7-13: Change to new stripe colour. sc in each st around. (36sc)
Fasten off and stitch in yarn ends.
The chick should sit snugly inside this bottom half with the eyes just showing (if you positioned them where I did!)

Top half
Change colours on each round as preferred. I did my first 5 rounds in the same colour and changed every round after that.
round1: Ch2, 6sc in 2nd ch from hook.
round2: 2sc in each st around (12sc)
round 3: sc in each st around (12sc)
round 4: *2sc in first st, sc in next st* Repeat between ** around. (18sc)
round 5: sc in each st around (18sc)
round 6: *2sc in first st, sc in next 2 st* Repeat between ** around. (24sc)
round 7: sc in each st around (24sc)
round 8: *2sc in first st, sc in next 3 st* Repeat between ** around. (30sc)
round 9: *2sc in first st, sc in next 4 st* Repeat between ** around. (36sc)
round 10-12: sc in each st around. fasten off and stitch in ends.

That's it! You should have a cheeky little chick hiding inside a stripy easter egg all ready to give as a gift or decorate your home with. Maybe a bit late for this year but next year you could have some fun with it I am sure. This is a great little starter pattern if you are looking at getting into Amigurumi toys. If you make the body of the chick you could do this in any yarn colour and turn it into a different bird, add a tail or some yarn to the top to make a crest, anything really! I would love to see what you make if you can send me the pics or tag me on instagram @twobirdscraft.

Happy Hooking! x

P.S. As with all our patterns and information, this pattern is free for you to use but please do not reproduce the information in any way without our permission.

Tuesday, 12 February 2013

Fame at Last!

I have a some exciting news to share with you all! We have been featured in issue2 of Simply Crochet Magazine! It is only a tiny article but we are thrilled!


The best bit is that I would never have known if I hadn't heard about it through the Instagram grapevine!

On spending a few moments thumbing through the old Instagram feed last week I noticed that we had been tagged in a post by a lovely lady who upon having seen a mention of us in her subscription copy of Simply Crochet, had posted a picture to let us know. Thank you so much for that Chelle! I haven't posted your username here just in case you don't want it published, but let me know if you would like me to. Without you we would never have seen it!

Well of course I had to rush out and buy the magazine to keep for posterity but I was thwarted in this as they wouldn't hit the news stands for another week! I could hardly wait but on Sunday, the first chance I had, I raced down to WHSmiths and there it was at last!


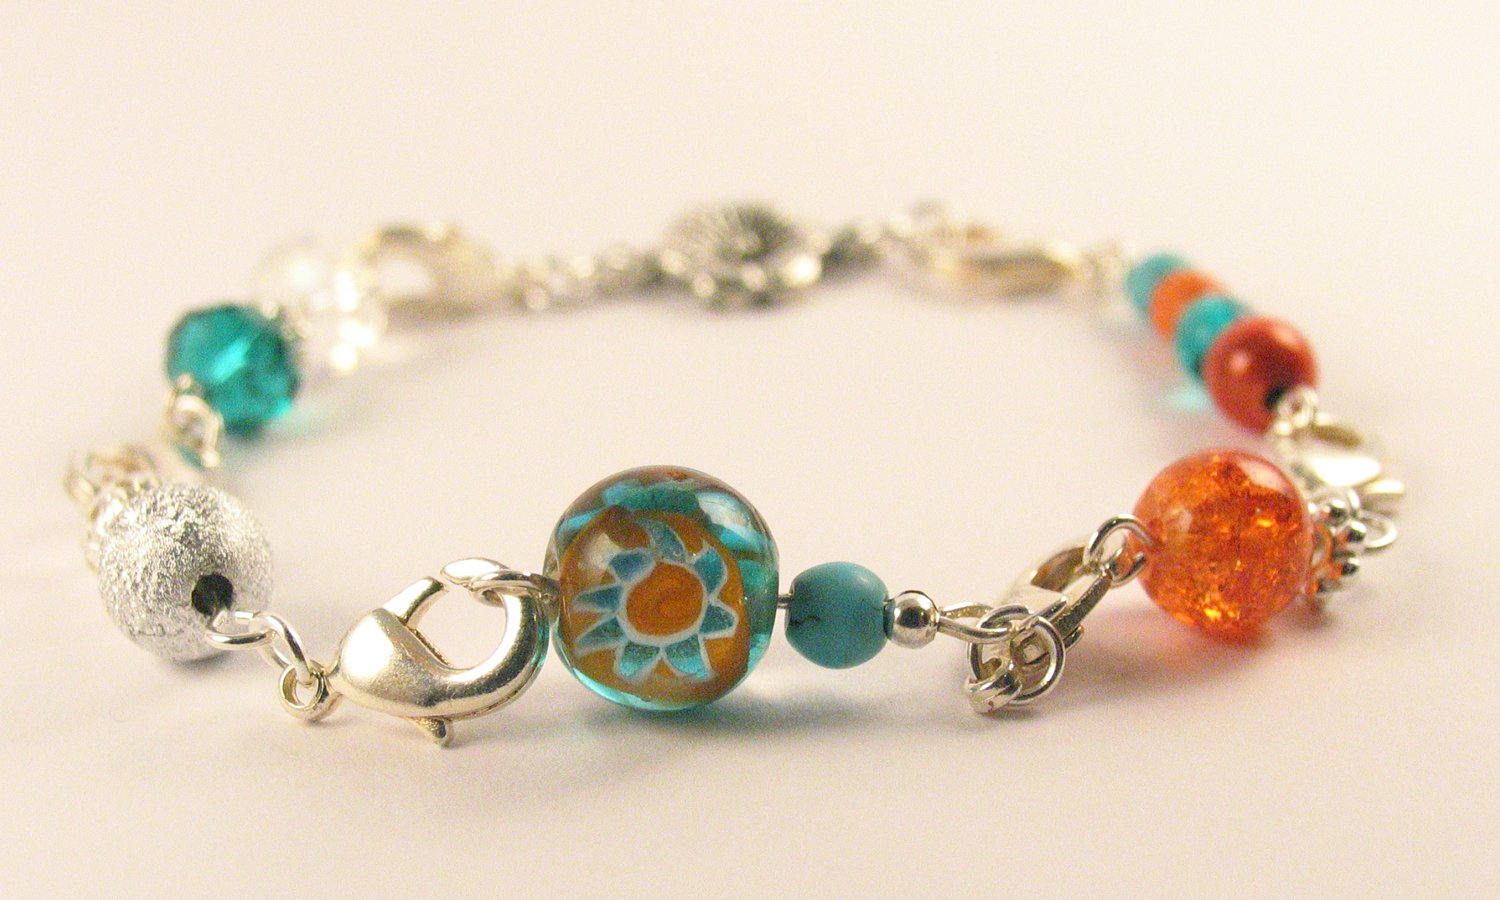
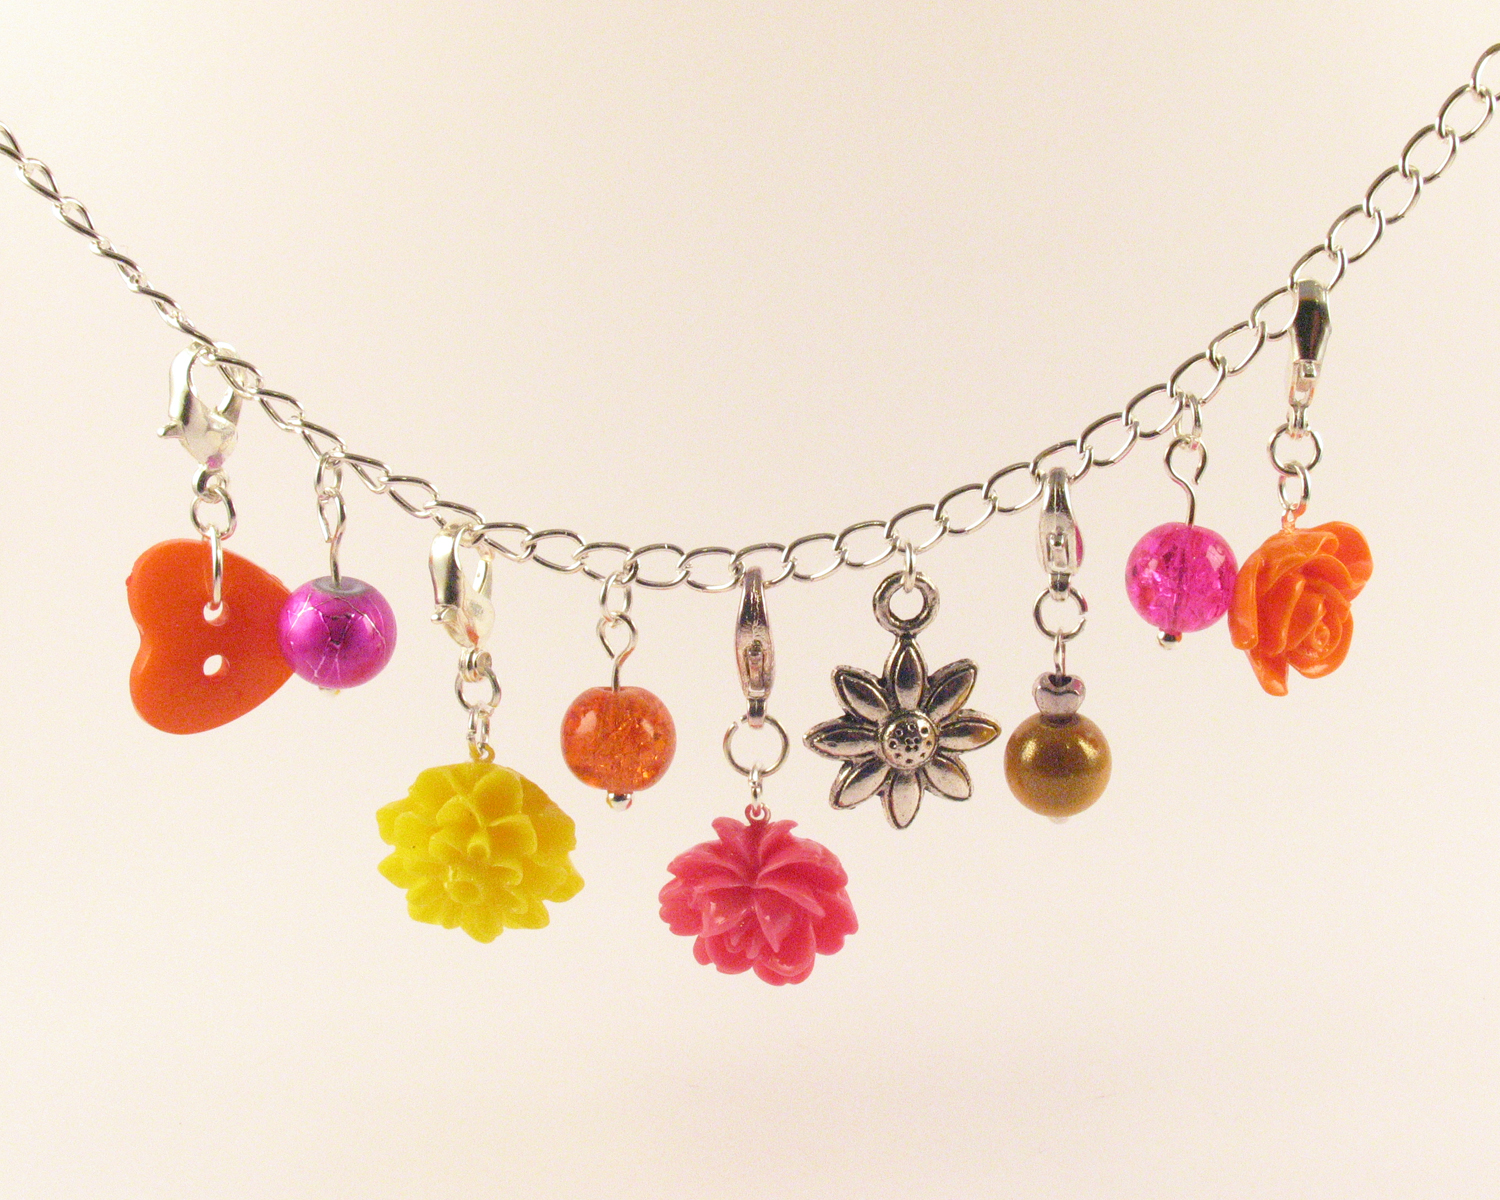
And here is our bit with a lovely picture of one of our crochet stitch marker bracelets. That one has since sold but we have made lots more and they are all waiting on Etsy for happy new homes! There are also stitch marker sets available without the bracelet for those of you who just want to keep some pretty markers in your crochet kits.


I will also say that although I bought this magazine to look at our part of it, I am now a convert! It has beautifully designed pages full of lovely articles, up to date patterns and useful tips and information. All appropriate to the season and on trend. No fusty old crochet here! I now can't wait to see the next issue and am considering subscribing. I haven't seen a crochet magazine to beat this one as long as I can remember and highly recommend it to any hooky enthusiast!

Here are some of the items we have recently listed on Etsy since the article was published, for any of you looking for a preview. There are more in the shop if you want to visit.


Sunday, 6 January 2013

Cute Coaster Pattern


After Christmas I looked around and thought my coasters were looking a little shabby and could do with an update. Last time I had followed a pattern but it had a lot of holes in it so they didn't end up looking as solid as I would have liked for something I would be placing hot drinks onto. So I went in search of a new pattern and couldn't find one which suited me just right. In the end I improvised and this cute little scalloped edge design was the result.


I chose yarns to match my new colourful sofa which some of you may have seen on my instagram feed last autumn. Here are some of the coasters I made. It became a highly addictive pursuit which is why there are so many of them!!!

Here is the pattern for those of you who want to have a go. It would be fun for beginner hookers as a practice project too and there is something so satisfying in completing an item in a short space of time, rather than the larger projects which you need to come back to. I have shown the pattern using all one colour but you can work it with a different colour for each round if you prefer. I photographed the stages to give better detail but if you just want the basic pattern scroll down to the end.


You will need:

DK weight yarn in your chosen colours
4mm crochet hook
yarn needle
scissors

The pattern is written in US terminology as I see so many more that way and have begun to think in US stitches, so Double crochet (DC) is the same as a UK treble crochet etc.

Stitches used:
ch - Chain
dc - Double Crochet
bo - Bobble Stitch (details within pattern)
sc - Single Crochet
sl st - Slip Stitch


Round 1

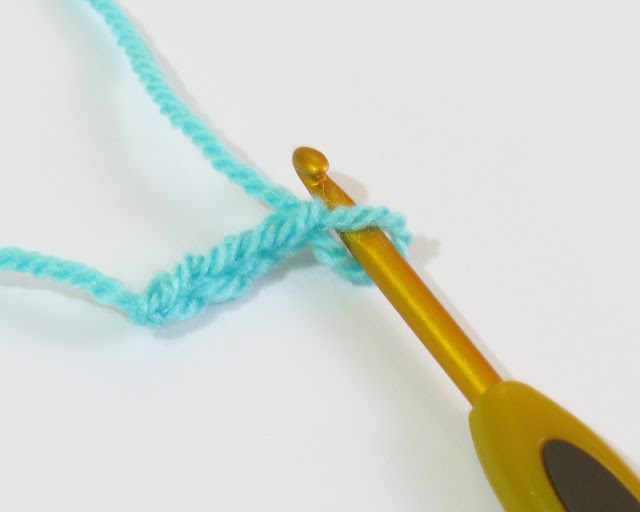
Step 1 - the starting chain or ring.

Method A:

There are two ways of starting off here. The first way is to ch4, then join with a sl st into the first ch to make a ring. Lots of people do this and it works fine.  If you are using this method you will need to next ch3, then dc into the ring and ch2 before moving onto your first bobble stitch which you will get to as you scroll down.

Method B:

I find it a little fiddly to join a chain so I use the following method to begin:


ch4


dc in the fourth chain from the hook (I will refer to this as the centre ring henceforth). This keeps the centre nice and small. I find it easier than joining a chain too if I can get away with it!


Then ch2.


Step 2 - the bobble stitches.

Whichever starting method you have chosen, this will be your next step. The chain and the dc you made will count as a bobble stitch but make the other five stitches to finish the round using the following instructions.

Now you need to make your first bobble stitch. Don't worry, it's really fun to do once you get the hang of it. Here's how to make a bobble stitch:


Yarn over, insert hook through centre ring. Yarn over, pull a loop back through the centre ring. You now have three loops on your hook.


Yarn over and pull through two of the three loops. You now have two loops on your hook. 


Yarn over, insert hook through centre ring, yarn over, pull a loop back through centre ring. You now have 4 loops on your hook. 


Yarn over and pull through 2 loops. You have three loops on your hook.


Yarn over and pull through all 3 loops, completing the bobble stitch.

I know it looks complicated but it is not so difficult. The best way to describe it is like two unfinished double crochet stitches, combined at the top. Give it a try.


Once you have mastered your first bobble stitch, ch2,


then work bo, ch2 into the centre ring 4 more times then join with a sl st into the top of the first dc (not the starting chain).  At the end of this round you will have made 6 bobble stitches and 6 chain2 spaces. count at the end of each round to make sure. It looks like a little flower within a wheel.


Round 2


ch3 (counts as 1 dc),


dc into the same stitch,


2dc into the next ch-sp.


*2dc into top of next dc, 2dc into the next ch-sp*. Repeat between ** five more times then join to top of 3rd ch with a sl st. At the end of this round you should have 24dc including the beginning ch3. Count around and check.


Round 3


Ch3 (counts as 1 dc), dc into the same stitch,


2dc into each remaining stitch. Join to top of 3rd ch with a sl st. At the end of this round check to see if you have 48dc. You should!


Round 4


Ch1, sc in next stitch, 3dc in next stitch, sc in next stitch.


*sl st in next stitch, sc in next stitch, 3dc in next stitch, sc in next stitch* repeat between** then join to beginning ch1 with a sl st. It is sometimes hard to find this ch1 as it is so tiny but it should just be the next stitch along if you have worked the scallops properly. At the end of this round you should have 12 complete scallops.


That's it! One coaster made!


Now just weave in the loose ends on the wrong side with your yarn needle,


And then test it out with a well deserved cup of tea…


And if you are like me and find them addictive, I suggest that you stop making them when you have enough coasters to cover a dining table!


For those of you familiar with crochet pattern lingo who don't need the photos and details, here are the bare bones:


Round 1: ch4, dc in 4th ch from the hook, ch2, *bo, ch2*, repeat between **4 times. sl st into top of first dc. (6bo and 6ch2 spaces)
Round 2: ch3, dc into the same stitch, 2dc into the next ch-sp.  *2dc into top of next dc, 2dc into the next ch-sp*. 
Repeat between ** five more times then join to top of 3rd ch with a sl st. (24dc)
Round 3: ch3, dc into the same stitch, 2dc into each remaining stitch. Join to top of 3rd ch with a sl st. (48dc)
Round 4: ch1, sc in next stitch, 3dc in next stitch, sc in next stitch. (one scallop made) *sl st in next stitch, sc in next stitch, 3dc in next stitch, sc in next stitch* repeat between** then join to beginning ch1 with a sl st. (12 scallops in total)


Have fun and if you make any of your own we would love to see any photos. We are on instagram if you want to tag us in your project pics!

If you pass on or duplicate the pattern please credit us wherever you post it. This is my first time writing a pattern so if you spot any errors or have any questions please get in touch.